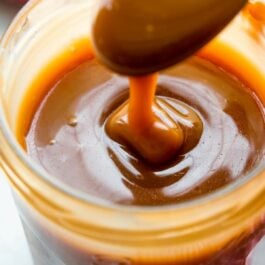
Follow these easy instructions to create sweet salted caramel sauce at home. This salted caramel recipe requires only 4 easy ingredients. It’s perfect for cakes, cupcakes, cookies, pound cake, ice cream, cheesecake, scones, salted caramel apple pie, and more!
What once intimidated me became the subject of my 2nd cookbook: Sally’s Candy Addiction. As it turns out, homemade candy isn’t all that difficult. And salted caramel is one of the easiest recipes. This truly the best salted caramel I’ve ever had and there’s only 4 ingredients required: sugar, butter, heavy cream, and salt.
This salted caramel is a reader favorite recipe, marking its spot in the top 10 most popular recipes on my website. It’s sweet, sticky, buttery, and tastes phenomenal on anything it touches. (Though you really only need a spoon to enjoy.) Trust me, after trying this 1 time, you’ll be hooked like the rest of us!
How to Make Salted Caramel
Use the written out instructions below, but here’s the basic process: The first step is to melt sugar, which is called caramelization. This requires 1 small pot and a wooden spoon or heatproof spatula. Stir until melted. Stir in butter, then stir in heavy cream and let it boil for 1 minute. Finally, add the salt. That’s it, the caramel is done.
Remember to use caution when cooking over the stove as the hot liquid, butter, and cream may splatter. If needed, kitchen gloves come in handy.
No Candy Thermometer Salted Caramel
Unlike most caramel recipes, this salted caramel doesn’t require a candy thermometer. Instead, I encourage you to follow the recipe and use your eyes to determine when to add the next ingredient. The caramel thickens as it cools.
What to Eat with Salted Caramel?
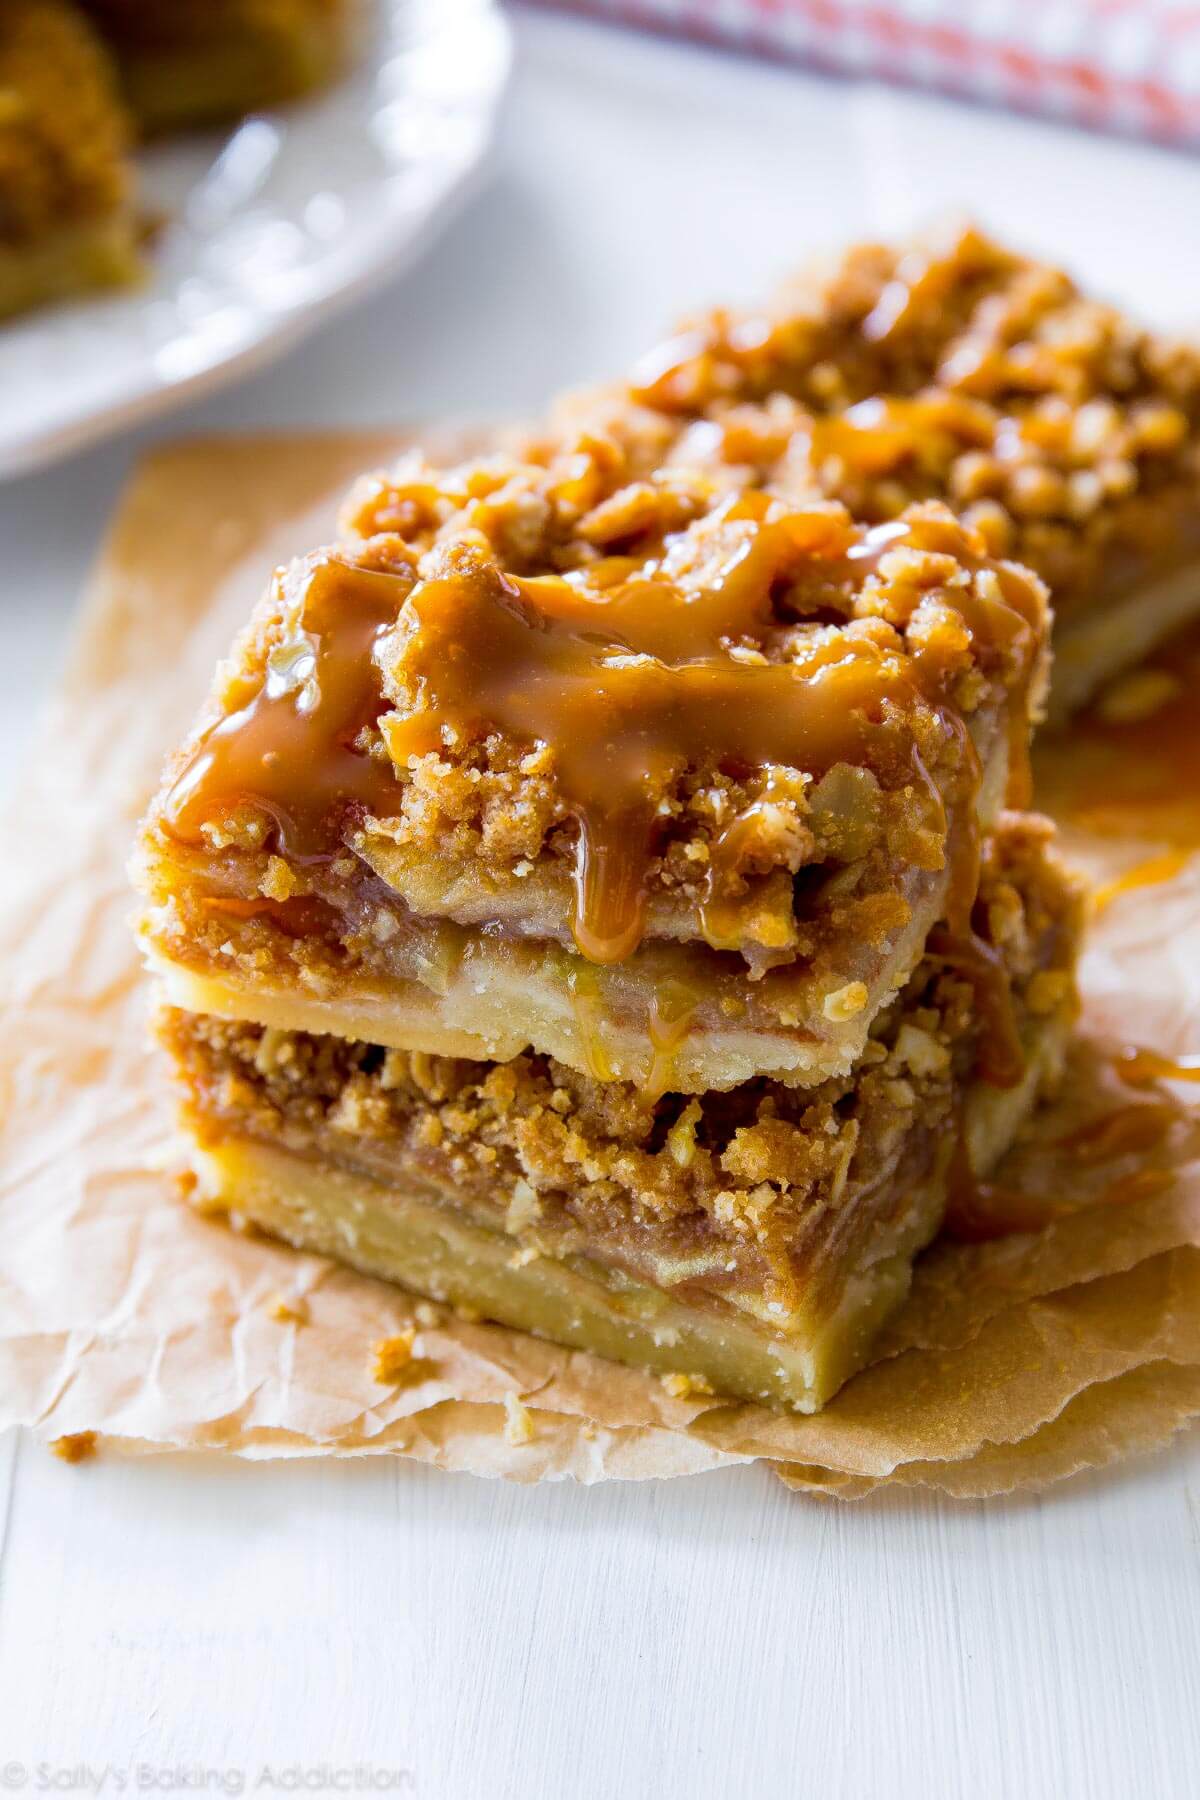
You will love homemade salted caramel with recipes like cinnamon rolls, cheesecake, and apple pie bars. Use it as a caramel dip for apples, spoon over ice cream, or pour into decorated jars and gift it for the holidays.
The possibilities for salted caramel are endless:
- Turtle Brownies
- Burnt Sugar Caramel Cake
- Caramel Apple Cheesecake Pie
- Butterscotch Pudding
- Snickers Caramel Tart
- Apple Cupcakes
- Caramel Dipped Pretzels
- Pumpkin Swirl Cheesecake
- Salted Caramel Apple Pie & Apple Cake
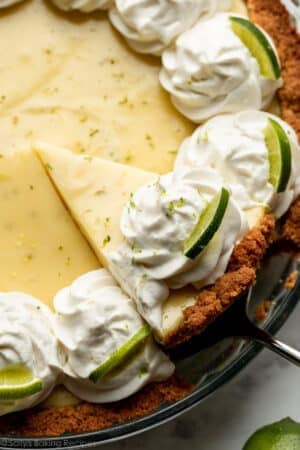
- Cheesecake Pie
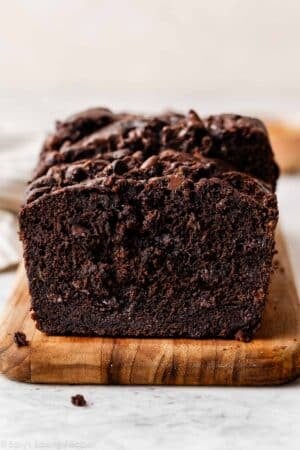
- Chocolate Bread Pudding
- Dessert Nachos
- Caramel Turtle Cheesecake
- Apple Cider French Toast
- Dutch Baby Pancake
- Drizzled on cookies like Shortbread, Brownie Cookies, and Snickerdoodles
50 Ways to Eat Salted Caramel
I have plenty more ideas too: here are 50 Ways to Eat Salted Caramel.
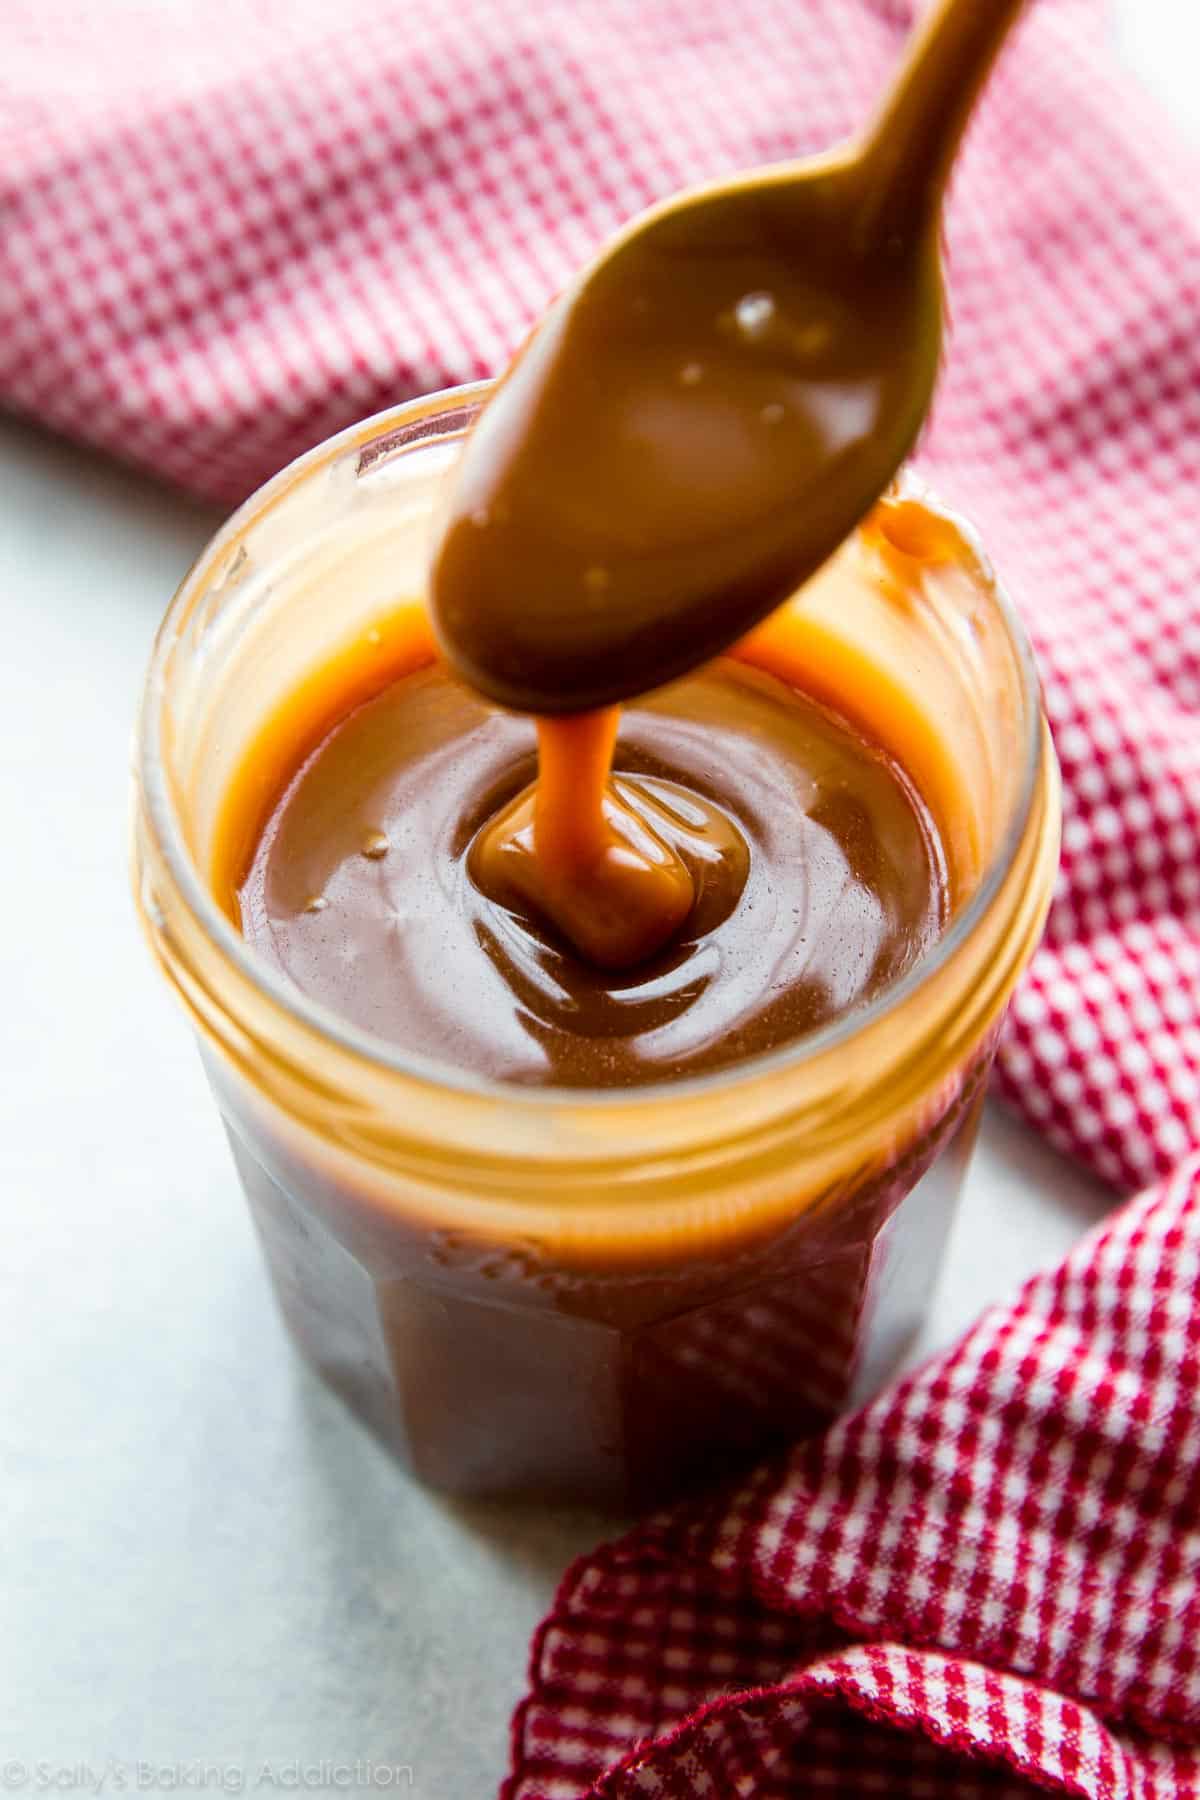
What is the Texture of This Salted Caramel?
The caramel is liquid as it comes off heat. As the caramel cools, it solidifies into a chewy texture. After refrigerating, the caramel is hard and you must heat it up to bring it back to a liquid consistency. Do you need a thinner caramel? Feel free to add 2 more Tablespoons of heavy cream to the recipe.
You can’t really turn this sauce into a homemade wrapped candy. Instead, try my soft caramel candies recipe which is a little different.
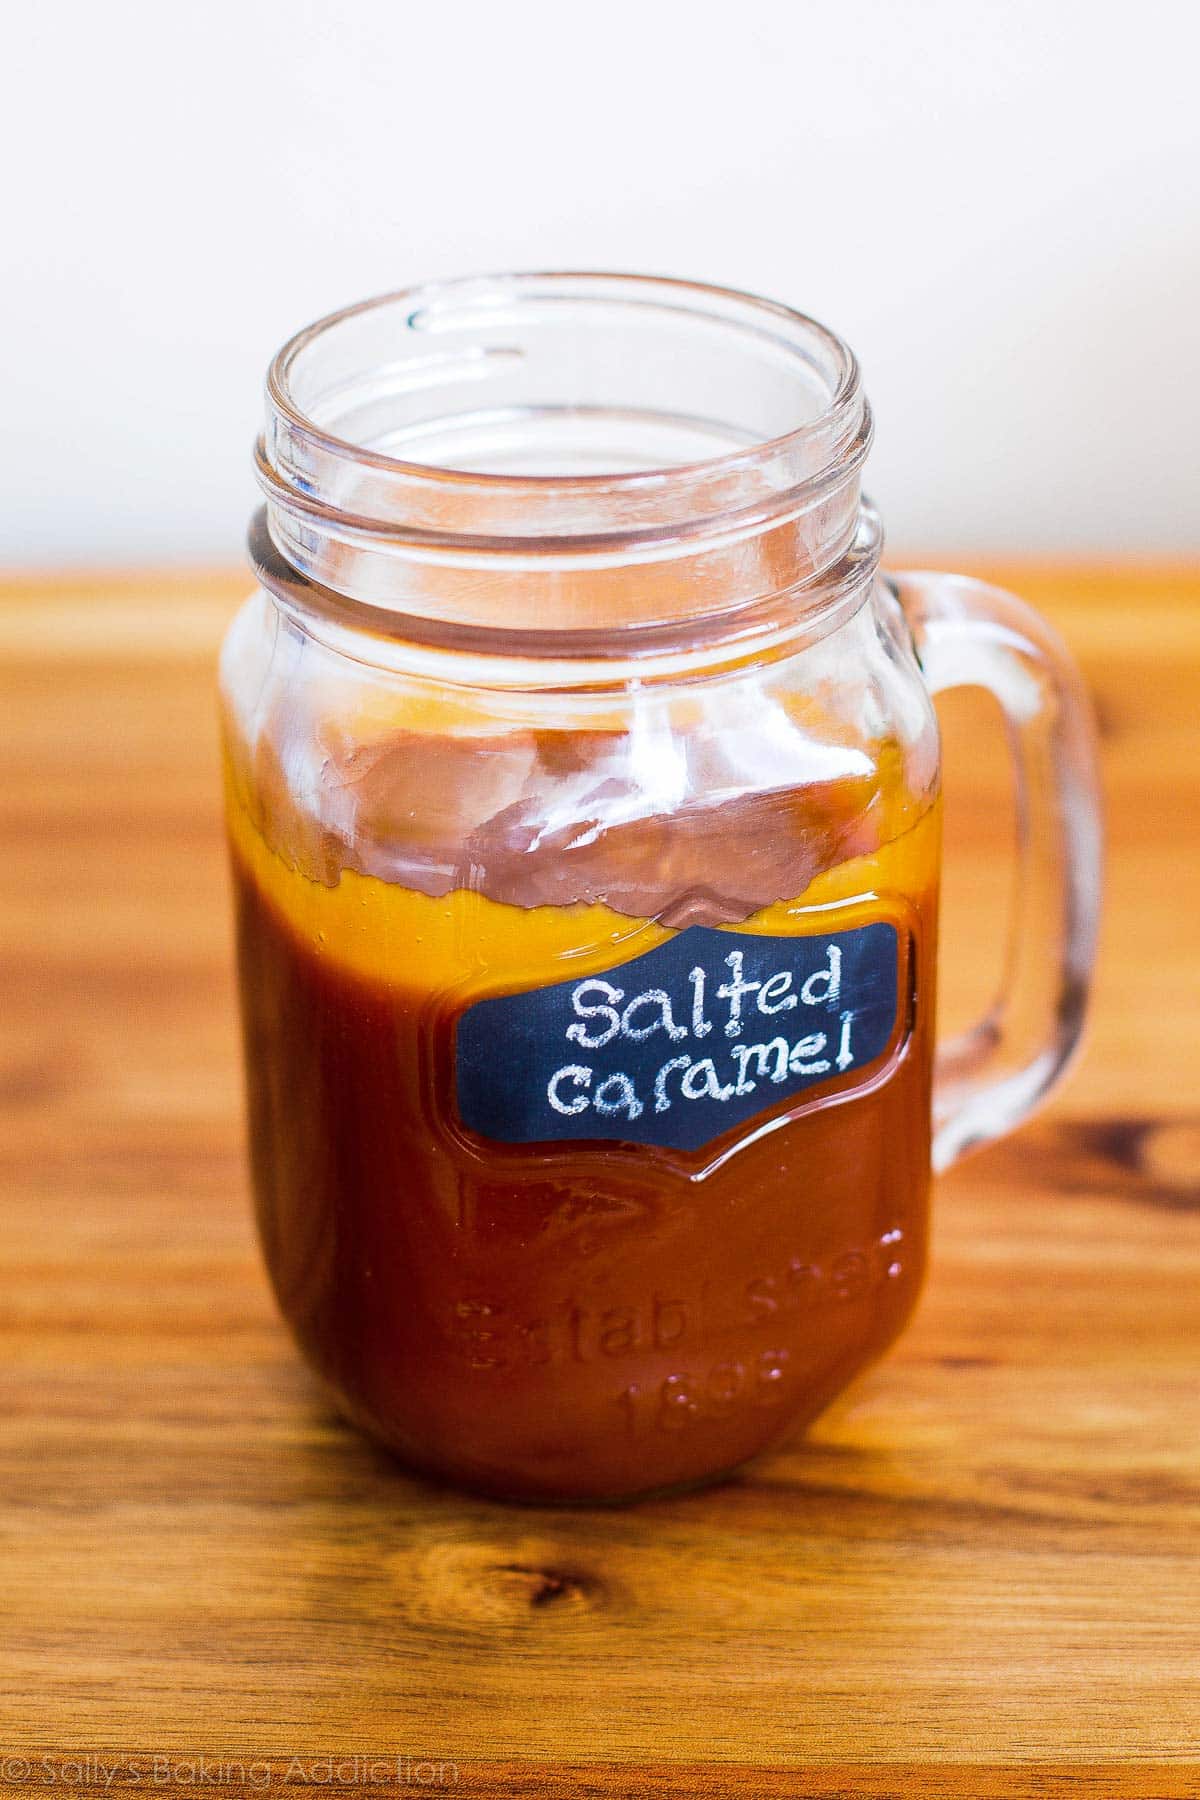
How to Store Salted Caramel
After the caramel cools down, pour it into a glass jar or container. Refrigerate for up to 1 month. The caramel solidifies as it cools, but you can reheat in the microwave or on the stove so it’s liquid again. You can freeze the salted caramel, too. Freeze in an airtight container for up to 3 months. Thaw in the refrigerator or at room temperature, then warm up before using.
What About Caramel Apples?
This caramel is not thick enough to coat apples for caramel apples. Instead, I recommend my homemade caramel apples recipe.
Quick Salted Caramel Video
Homemade Salted Caramel Recipe
- Prep Time: 5 minutes
- Cook Time: 15 minutes
- Total Time: 20 minutes
- Yield: 1 cup
- Category: Dessert
- Method: Cooking
- Cuisine: American
Description
Made from only 4 simple ingredients, this homemade caramel is salty, sweet, and irresistibly buttery. No candy thermometer required and the possibilities for serving are endless. (Though just a spoon is acceptable!) Use caution as the cooking caramel may splatter. Stand back and wear kitchen gloves if desired. Review recipe notes prior to beginning.
Ingredients
- 1 cup (200g) granulated sugar (make sure it’s labeled “pure cane”)*
- 6 Tablespoons (85g) unsalted butter, at room temperature and sliced into 6 pieces
- 1/2 cup (120ml) heavy cream, at room temperature
- 1 teaspoon salt
Instructions
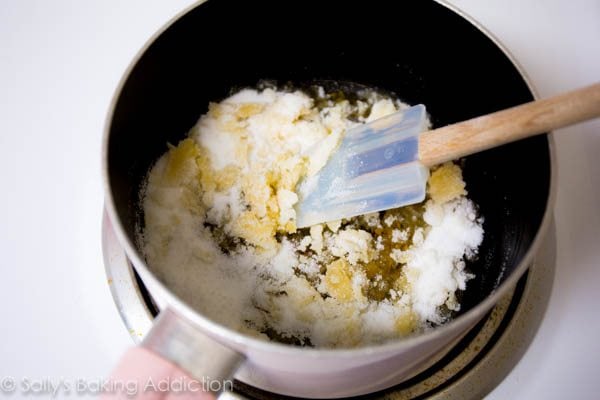
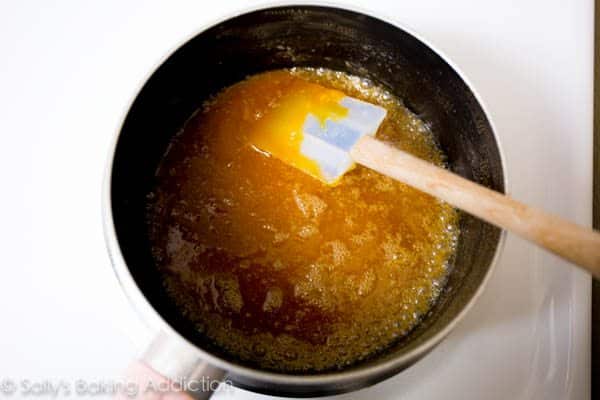
- Heat granulated sugar in a medium heavy-duty saucepan (avoid using nonstick) over medium heat, stirring constantly with a high heat-resistant silicone spatula or wooden spoon. Sugar will form clumps and eventually melt into a thick brown, amber-colored liquid as you continue to stir. On my stove, this takes about 6 minutes. Be careful not to burn it.
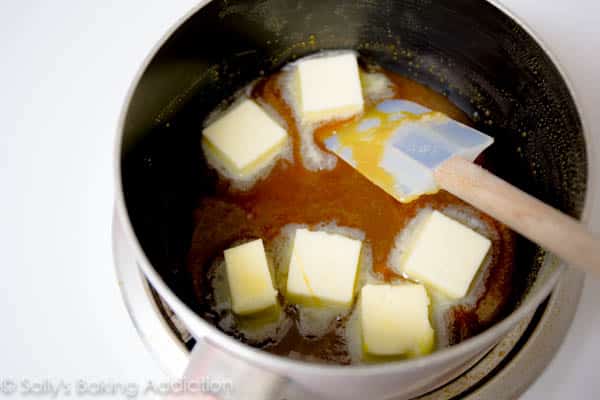
- Once sugar is completely melted, immediately stir in the butter until melted and combined. Be careful in this step because the caramel will bubble rapidly when the butter is added. If you notice the butter separating or if the sugar clumps up, remove from heat and vigorously whisk to combine it again. (If you’re nervous for splatter, wear kitchen gloves. Keep whisking until it comes back together, even if it takes 3–4 minutes. It will eventually—just keep whisking. Return to heat when it’s combined again.)
- After the butter has melted and combined with the caramelized sugar, stir constantly as you very slowly pour in the heavy cream. Since the heavy cream is colder than the hot caramel, the mixture will rapidly bubble when added. After all the heavy cream has been added, stop stirring and allow to boil for 1 minute. It will rise in the pan as it boils. If you’d like to be precise and use a candy thermometer, the temperature will rise to about 220°F (104°C).
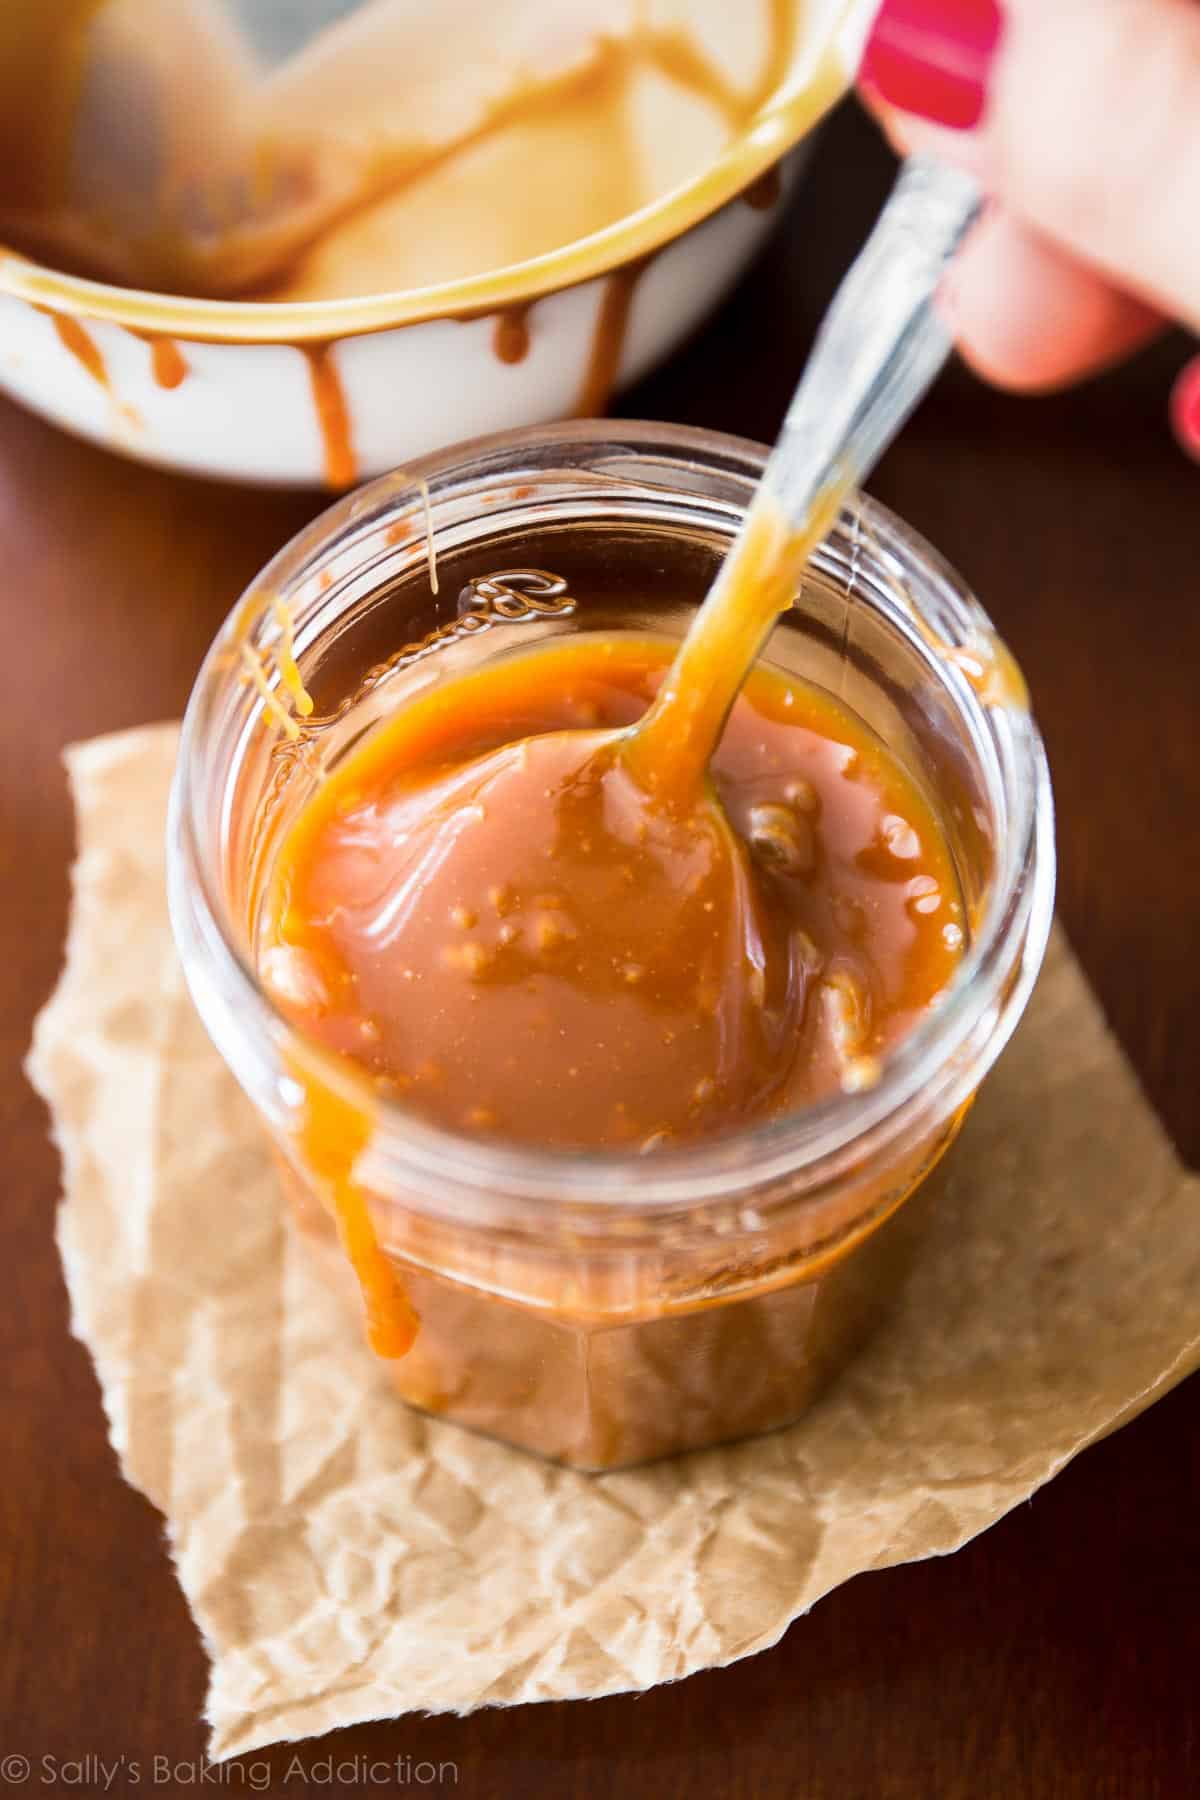
- Remove from heat and stir in the salt. The caramel will be a thin liquid at this point. Allow to slightly cool down before using. Caramel thickens as it cools.
- Cover tightly and store for up to 1 month in the refrigerator. Caramel solidifies in the refrigerator. Reheat in the microwave or on the stove to desired consistency.
Notes
- Make Ahead & Freezing Instructions: You can make this caramel in advance. Make sure it is covered tightly and store it for up to 1 month in the refrigerator. Warm the caramel up for a few seconds before using in a recipe. See “What Is the Texture of This Salted Caramel?” in the post above. This caramel is OK at room temperature for a day if you’re traveling or gifting it. You can freeze the salted caramel, too. Freeze in an airtight container for up to 3 months. Thaw in the refrigerator or at room temperature, then warm up before using.
- Special Tools (affiliate links): Medium Heavy-Duty Saucepan (avoid using nonstick) | Wooden Spoon or Silicone Spatula | Candy Thermometer (optional)
- Sugar: This recipe is most successful using granulated sugar that’s labeled “pure cane” on the packaging. I usually use and recommend Domino brand regular granulated sugar which says “pure cane granulated” on the packaging.
- Heavy Cream: Heavy cream (approximately 36% milk fat) may also be sold as whipping cream. Light whipping cream (30% milk fat), or double cream (48% milk fat) may be substituted. Do not use milk. Room-temperature cream is best.
- Salt: Use regular table salt or kosher salt. If using larger flaky salt, add 1 teaspoon, taste, then add more if desired. This recipe works with 1 teaspoon of any variety of salt. You can always add 3/4 teaspoon, taste, then add more if desired.
- Caramel Candies: This caramel is great as a sauce, topping, or filling, but won’t set up properly to make soft caramel candies. Here is my soft caramels recipe.
- Regular Caramel Sauce: If you want to make regular caramel, reduce salt to 1/2 teaspoon. Do not leave it out completely.
- Larger Batches: Avoid doubling or tripling this recipe. The added volume could prevent the sugar from melting evenly and properly. Make a couple of batches instead.
The sugar will be clumpy as it begins to melt:
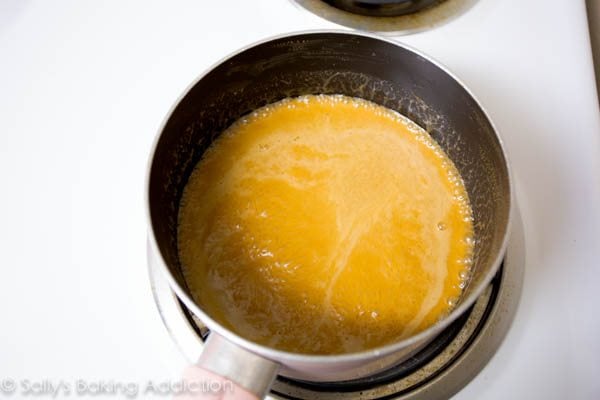
It will begin to turn amber in color:
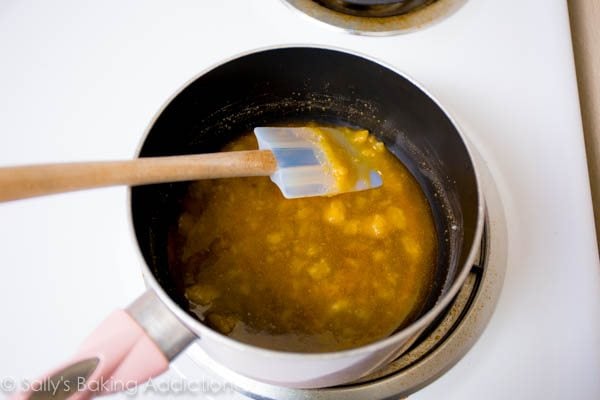
Once sugar is completely melted (takes about 6 minutes or so on my stove), stir in the butter:
Very slowly, drizzle in the heavy cream. Since the heavy cream is colder than the caramel, the mixture will rapidly bubble and/or splatter when added. Boil for 1 minute.
Remove from heat and stir in the salt.


You say not to use a non-stick pot, but you’re using one in your pictures…
Can you please clarify if it’s OK to use a non-stick pot…
Hi Tonya, though we do recommend avoiding non stick if possible, we’ve successfully make this salted caramel with non stick pans. You want a thick, heavy bottomed pan for best results. Hope you enjoy it!
First time making this, and it turned out great! Next time I’m going to halve the salt, though. It was also my first time eating salted caramel, and I wasn’t expecting the salt to be so overpowering. For me! My tastebuds always pick up salt in any recipe when there’s more than a ¼tsp. Other than that, this caramel was the perfect addition to the cake I just made as an experiment. I will definitely be using it again.
It’s a very delicious sauce, but its more akin to a butterscotch than a caramel. That’s because you add the butter in too, when you could just stay with the heavy cream. Typical caramels use White sugar, heavy cream, vanilla, and salt. Butterscotch uses brown sugar, butter, heavy cream, and salt. Minor difference but will change the flavor. Still a wonderful sauce though!
I’ve made this recipe several times now. It’s better every time! I added a tablespoon-ish of finely ground instant coffee to sauce when adding the salt…..TO DIE FOR….so amazing on ice cream!! Thank you for the easy and amazing recipe!!
Will never buy again. My new addiction!!
Making for the second time because first time was SO tasty! But, when in a time crunch, is there a problem with melting butter in the microwave vs. using room temperature butter, as per the recipe?
Hi Teresa, if a recipe calls for room temperature butter, it typically will not turn out as well with melted butter. See more information in our post about room temperature butter.
I was hesitant to make this as I have a knack for messing up recipes, but it turned out great! So rich and salty and smooth. My only issue is that there was clumps of caramel stuck to the bottom of my pot. Did I do something wrong or is that normal? Regardless, I will be making this again – thank you for sharing this recipe!
Hi HallieAnn! Make sure to continuously and thoroughly whisk as directed to avoid any clumps. So glad it turned out for you!
I noticed that you emphasized the granulated sugar must be pure cane sugar. While I could purchase cane sugar, granulated sugar made from sugar beets is more common here. How effect does granulated cane sugar have vs sugar beet granulated sugar?
I’ve made caramel sauces in the past that broke (I used a thermometer) and had to redo. Made this recipe as written and it was perfect and so easy!! Thank you!
I’ve used this recipe over the years with a lot of success, it’s very good and easy! The only thing is sometimes after I add the cream and let it boil there are hard clumps left, and I’ve had to strain the caramel through a sieve to get a smooth sauce. What would be the cause/fix for this? It doesn’t happen every time but when it does it’s annoying!
Hi Laura, It may be helpful to lower your stove heat. Stir the sugar constantly as it melts and caramelizes. If it clumps up when you add the butter or heavy cream, whisk it endlessly because it WILL melt again. You can even remove it from heat and whisk, too.
Love this recipe! Would also love a vegan version too – you rock at using dairy-free ingredients!
You really helped me alot, appreciate it
I’ve been making this for special occasions for several years now – so good! And surprisingly simple. Thank you Sally!
When I just made it, it’s not a perfectly smooth sauce like caramel typically is, maybe I didn’t cook it long enough? The taste is great though. I did use half and half, as I didn’t have any heavy cream. Maybe that caused it?
Hi Rachel! Heavy cream is necessary for this recipe. If there are sugar granules, it could have needed longer to cook.
It’s very clear on the steps needed, but I notice that my caramel has a slight bitter taste. What would be the reason?
Hi Lilli, If it tastes bitter, it’s likely been cooked for too long – an easy fix for next time! Try turning your heat down a bit.
I am planning on making your macarons this weekend — will this caramel be too fluid to work as a filling, or will it set up sufficiently? Thanks!
Hi Elan, it will be too thin to use as a macaron filling. You could use a vanilla buttercream instead, and beat/fold in a little cooled salted caramel into that.
I only had a nonstick quart saucepan, but it came out great! My nonstick is a light grey in color and takes a few mins to heat up then it retains the heat. It took about 5-minutes for the sugar to start melting. At that point I turned it down and set the timer for 6-mins. When it turned a nice amber color with lumps I took it off the heat and stirred like crazy until they dissolved. I added the butter then used a whisk quickly. I put it back on the heat for the final step of adding the cream. I followed Sally’s recipe and by using a nonstick pan it just took a little longer! You have to watch it every second and adjust the temp on and off the burner. I only used 3/4 tsp of salt.
I tried 2 x but every time I add the butter the melted sugar becomes a hard clump that will not melt. I’m sure it’s wonderful but I just can’t get it right
So much more foolproof than the first step sugar and water I’ve followed in the past.
It’s really good! I used Himalayan salt, which may have been too fine for a teaspoon. This is a case where I’d splurge for Fleur De Sel. Very good drizzled over popcorn!
I have been making batches galore since the recipe was published! It is excellent. Thank you Sally
Definitely want to give this sauce a go, alongside the bars in the photo. Can I check tho, for the bars – when you take the crust out of the oven after 15 min to add the apple filling and turn up the temperature, do you put the tray back in while the oven is still heating up to the higher temperature or do you keep the tin out and not put it in the oven until it gets to the new temperature?
Hi Lou, For the salted caramel apple pie bars, after you bake the crust at 300 F you will turn the oven up to 350 F, top the warm crust, and when your oven reaches 350 you will put them back in to finish baking. Hope this helps!
Nastiest caramel
Out of this world!
Love how the caramel taste, thanks for sharing this recipe
Turned out very well and considering my one attempt at this years ago (another recipe) was quite a disaster, am glad this came out well. Thank you!